Welcome to this series where I’ll show you how I use ChatGPT &Python to automate a range of development tasks — things that, before the rise of large language models (LLMs), would have taken an absolute lifetime to complete. The good news? Getting started is incredibly easy! I genuinely can’t think of a simpler API to work with.
If you’d like to follow along, make sure you have Python installed and a code editor set up. For most examples, we'll use Jupyter notebooks to take advantage of their interactivity. I’ll be working on Windows, but don’t worry — the concepts and code will work just as well on any operating system.
This series will be valuable for developers and Python users alike, whether you're an experienced coder or just getting started.
📋 Contents
🧾 Setting up an OpenAI Account
To follow along with this series, you will of course need an OpenAI account.
1️⃣ Go to the platform platform.openai.com
2️⃣ Sign up for a new account, or log in if you already have one.
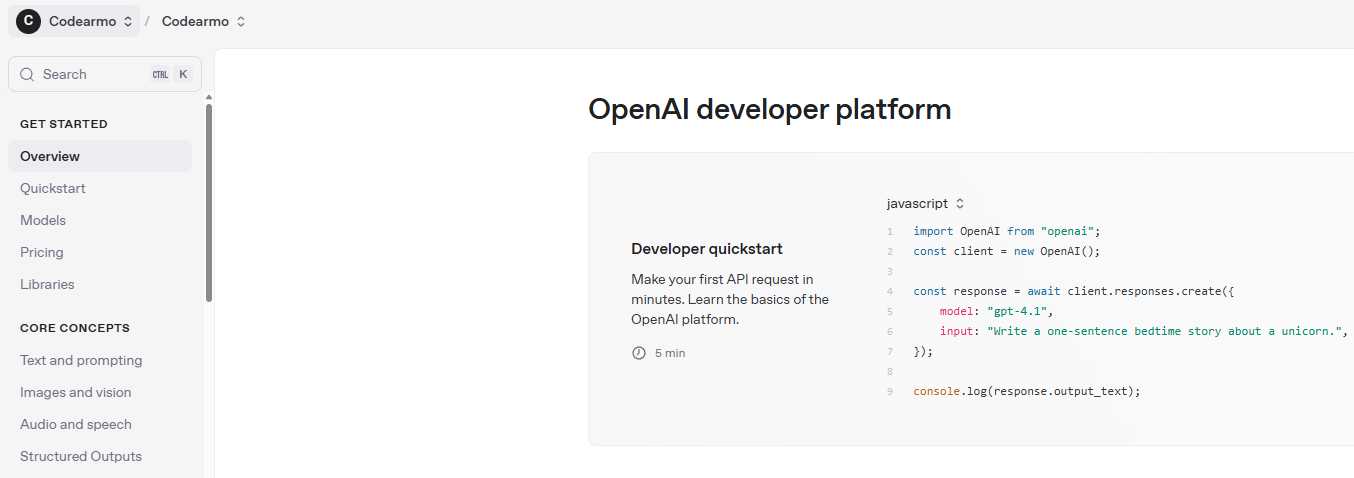
You should now see the OpenAI developer platform homescreen that looks like the image below ⬇️
💳 Purchasing Tokens
OK so as with any of these online services that use 'tokens' or 'credits' , it seems to me to be a total waste of time trying to figure out what they all actually mean. So here I will show you how I bought $10 worth of 'tokens' and then we will see later what we can actually do with this modest amount.
To follow along, navigate to the billing section on the sidebar shown below ⬇️ add a billing method and buy some tokens and let's see what we can actually do with them.

When I asked chatgpt through the UI what the tokens mean, it said ⬇️
-
Tokens = pieces of words, not whole words. (~75 words ≈ 100 tokens)
-
Pricing depends on the model you use (e.g., GPT-3.5 is cheaper than GPT-4).
🔑 Creating an API key
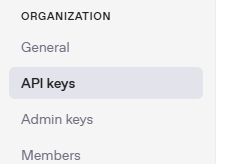
1️⃣ Navigate to the API keys section on the side menu
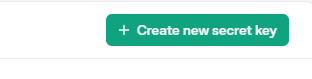
2️⃣ Click onthe Create new secret key button on the right of the page
3️⃣Ensure you save the secret key shown below as if not you will have to recreate the key
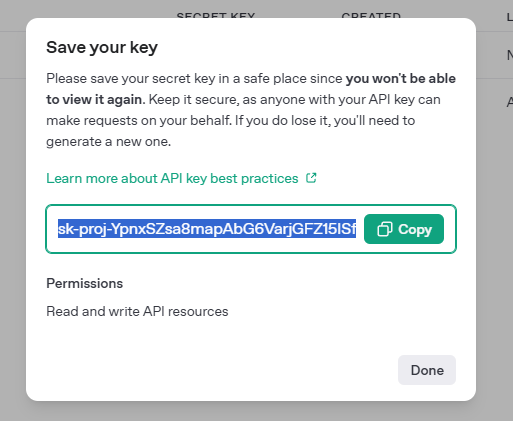
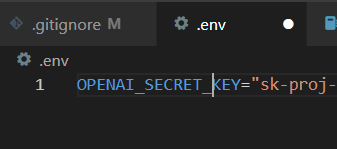
4️⃣Save the key to a .env file in your project root directory.
Create the .env file and put the key you got from step 3 in a variable called 'OPENAI_SECRET_KEY'
Installing the ChatGPT Python Package
In order to interact with the LLM through our Python code, we need to have the Python package installed. You can take a look at the project's Github repo for further information, but for a quick set-up we can just install it through pip ⬇️ Ensure you have your Python virtual environment set up and activated, see this guide for Window's users if not.
#install the openai package with python pip install
pip install openai
Also for ease of loading in the secret key we made in the previous step, it is recommended to install the python dotenv package
Making Your First Request to ChatGPT with Python
1️⃣ Import the Client and load the OpenAI secret key
#import necessary packages
from openai import OpenAI
from dotenv import load_dotenv
import os

# Load environment variables from .env file
load_dotenv()
api_key = os.getenv("OPENAI_SECRET_KEY")

if not api_key:
    raise EnvironmentError(f"You either do not have the API key saved or you have named it something other than 'OPENAI_SECRET_KEY'")

# instantiate the client
client = OpenAI(api_key=api_key)
2️⃣Make a Request with Python
response = client.chat.completions.create(
    model="gpt-3.5-turbo",                # ← (1)
    messages=[                            # ← (2)
        {"role": "system", "content": "You are a friendly assistant."},  # ← (3)
        {"role": "user",   "content": "Hello, how are you?"}             # ← (4)
    ]
)

print(response.choices[0].message.content)  # ← (5)
Understanding the Parameters to Make Requests
Note that the labels below refer to the parts of the code above 5️⃣ ← (5)
1️⃣ model="gpt-3.5-turbo": Specifies which model you want to run. Different models (e.g. gpt-3.5-turbo, gpt-4) vary in speed, cost, and capability. Choosing a lighter model is cheaper and faster; a heavier one gives “smarter” responses.
2️⃣ messages=[…]: A list that represents the full conversation history you’re sending to the API. The API uses this sequence of messages to decide what to say next.
3️⃣ {"role": "system", "content": "…"}: The system message sets the assistant’s “persona” or gives global instructions. Use it to tell the model how it should behave (tone, restrictions, context).
Example: {"role": "system", "content": "You are a friendly assistant."}
4️⃣ {"role": "user", "content": "…"}: A user message is the actual question or input from your end user. In a real chat you’d append each new user message here before calling .create() again.
5️⃣ response.choices[0].message.content: After the API call, the returned response object contains a list of “choices” (usually just one). Each choice has a message with role="assistant" and a content string. You grab response.choices[0].message.content to get the assistant’s reply text.