In this post, we will show how to get up and running with a Linux based server on Google Cloud within 20 minutes all for free! As of Feb 2025, Google still offers $300 free credits which are available for 3 months to test out their products.
This free credits scheme really is great and there really are no catches, although if you do intend to use these credits, there is an expiration date , so before you avail of them, ensure you are 100% ready to use the credits to the fullest.
It is important what happens, when the trials ends, Google says :
"You won’t be auto-charged once your trial ends. However, your resources are marked for deletion and may be lost immediately. Activate your full account anytime during your trial to avoid losing your resources. After activating your full account, you'll pay only for what you use."
If you are storing data on the server that you don't want to lose, you need to be very careful your files don't get deleted!
Why might you want to use cloud computing?
For those that are totally new to cloud computing , there are many use cases.
- Host a website
- Run a python script 24 hours a day without worrying about local internet connection!
- Collecting data
- Creating an API to retrieve data
First of all navigate to the Google Cloud webpage could.google.com
Things you will need to access these free credits
- Google account / email
- When we signed up to access the free credits, Google requested verification of a bank card. Pretty sure that this is only for verifying that we are not a bot. You will not be charged anything over the $300 in credits unless you give explicit permission, so no need to worry in this regard!
Once you have signed up and verified you are not a bot you will see an interface that looks as follows
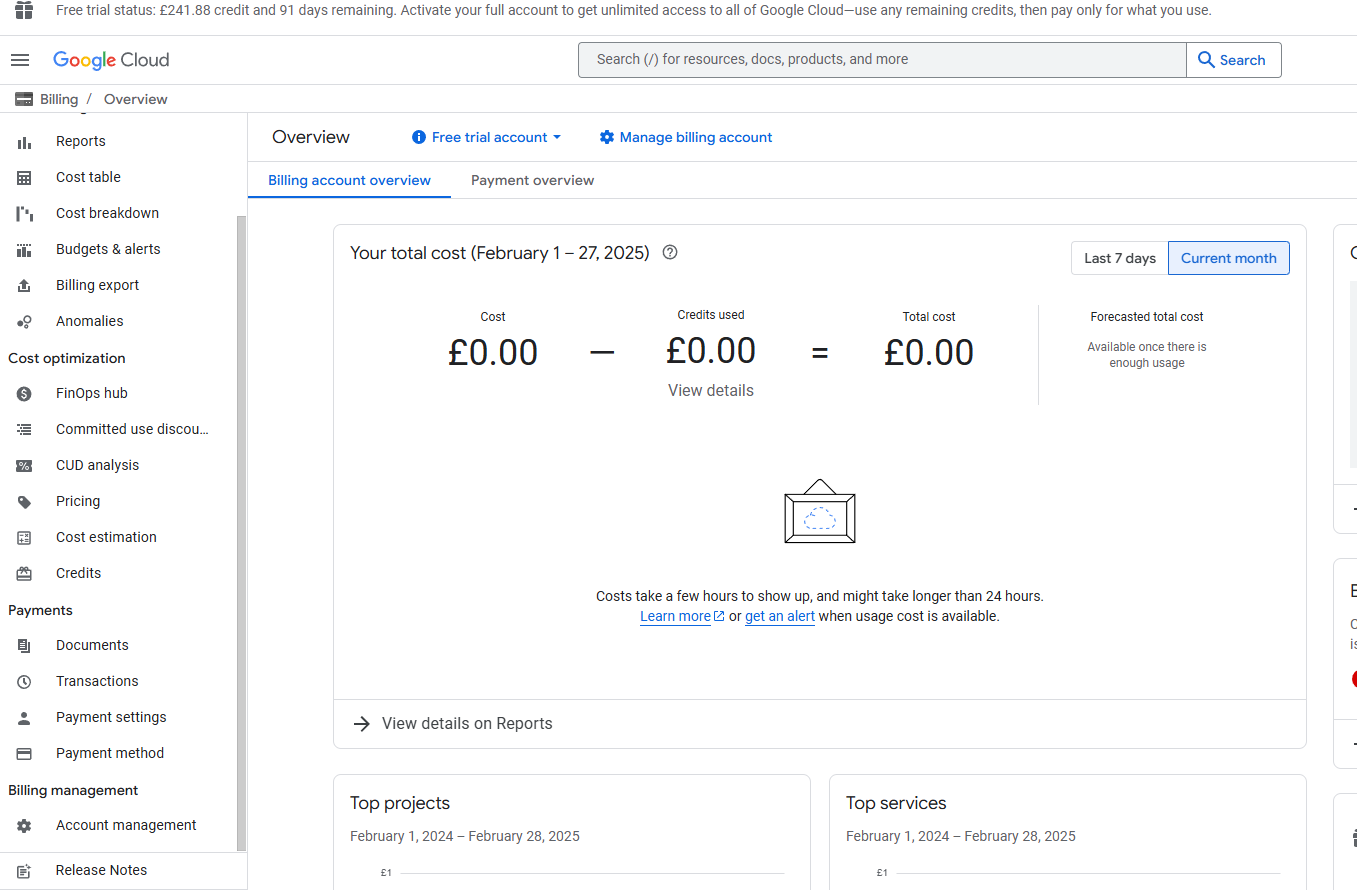
OK great, so there is a nice interface we can keep a track of the total number of credits used, along with a breakdown of what we have spent the money on.
Creating a VM instance
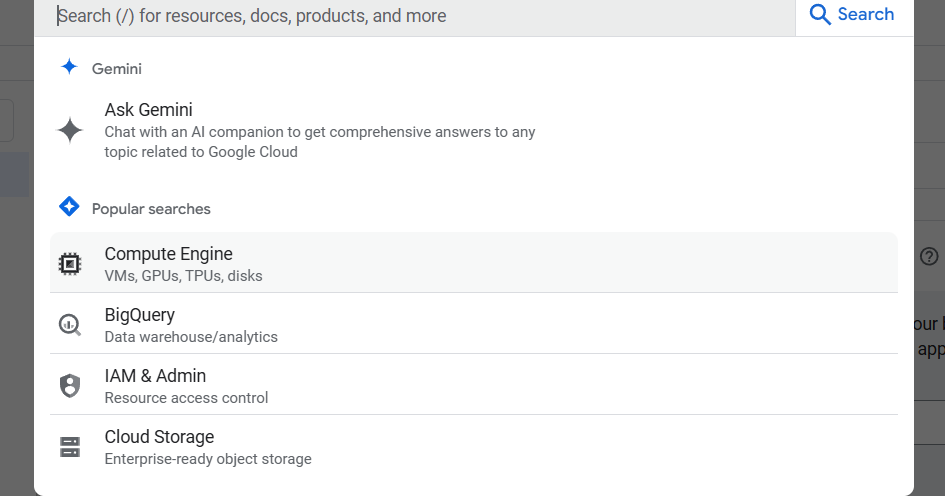
The interface for Google is quite clunky and can take a bit of time to learn to navigate. But the API we are looking for is called the "Compute Engine API" ,
We can search for this API in the search bar the top of the page.
When you first click on this, it may ask you to enable the VM API , click on the blue enable button.
Once the API is enabled, you should now be in a console that looks something like the image below.
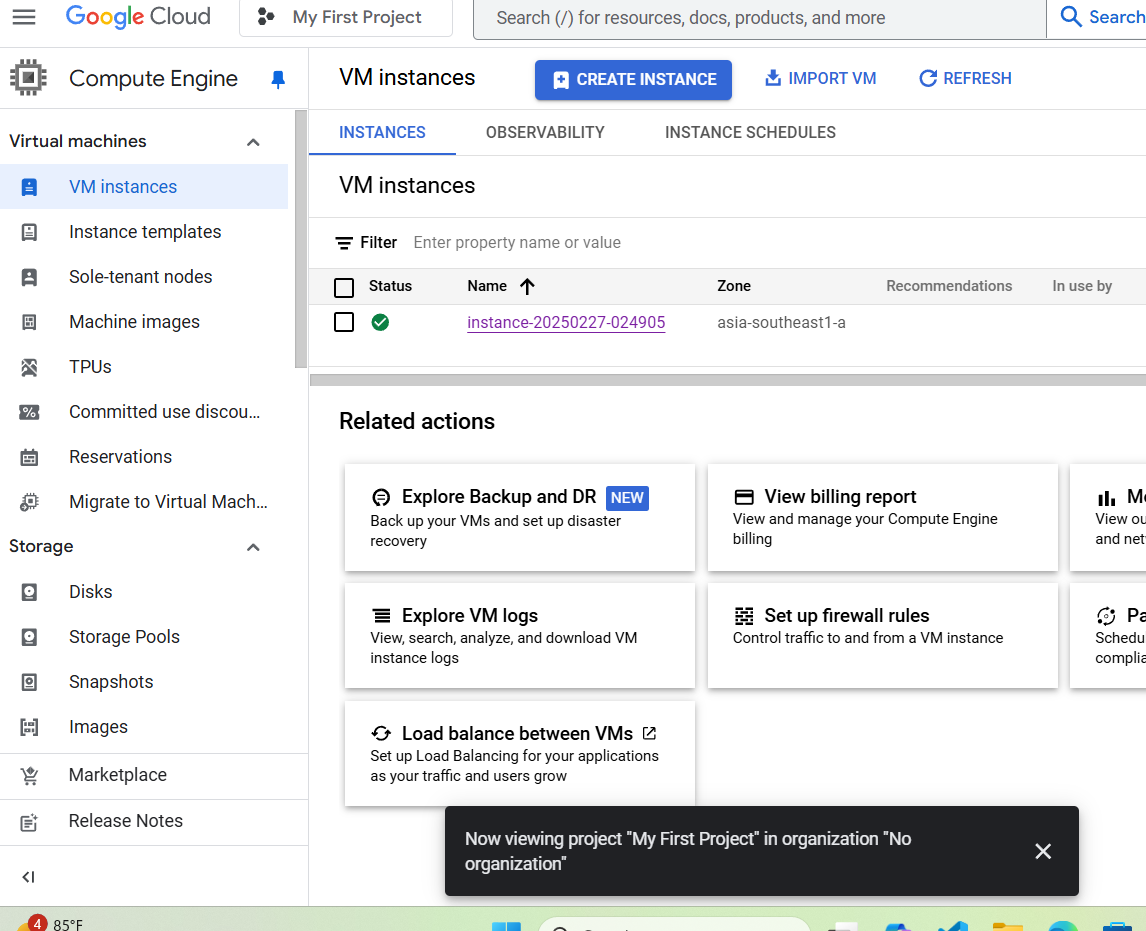
So, without further ado, click the blue 'Create Instance' button, and let's get a server up and running!
Selecting VM Instance Specifications
In this section we will cover
- Selecting a location / region and associated zone.
- Selecting hardware specifications CPU, RAM , etc
- Selecting an operating system
Once we click the create instance button, we are directed to the page below. Note on the side menu we are on the "Machine configuration" tab. Although, it is generally tempting to just blast through and get something up and running, it is probably a good idea, to go a bit slow here, and have a careful think about the potential evolution of the project.
First off , choose a name for your instance, I decided to call mine, "codearmo-example-instance" , only advice here is to choose something that makes it easy to remember what the machine is going to be used for, once you have a couple of instances things can get confusing fast
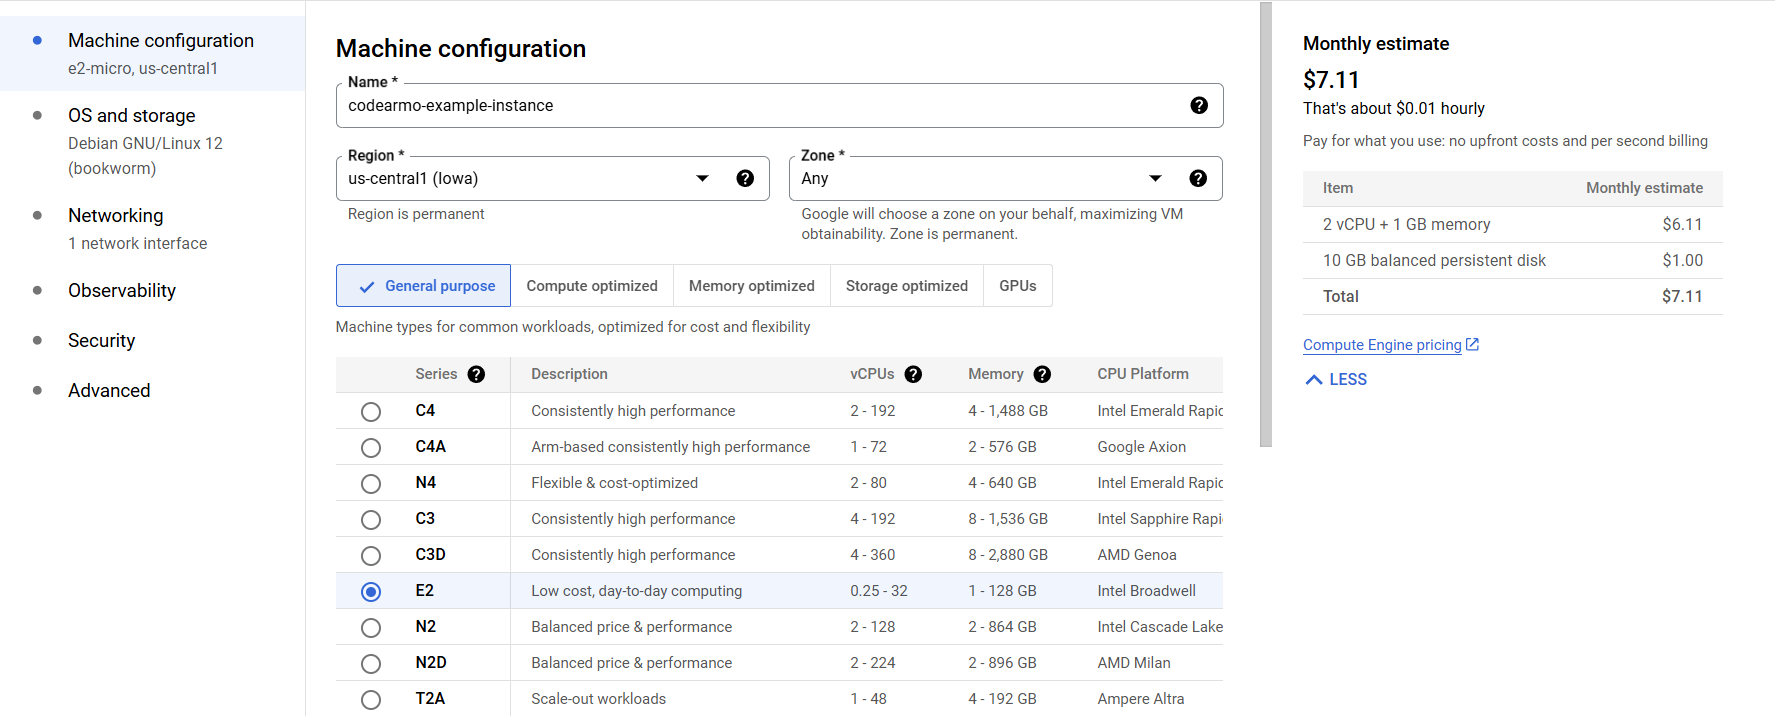
Select a VM Location
Notice in the region dropdown, we have options to choose where our VM will be located. Also take note that the region we choose in this step is permanent. So what are the tradeoffs when selecting a region?
I guess the first thing to consider is what we are using the machine for.
Let's just take a few examples here and discuss the potential issues.
Example 1
We want to get a server in order to run a Python script 24/7 in the cloud, and we are located in London. When choosing a VM, we didn't think too much about it and just chose Japan on a whim. After selecting the server, we SSH into it (i.e., access it from our local computer), and it's likely we'll notice that the terminal is quite laggy, making it very annoying to type commands. Since using the terminal on Linux can be frustrating even in the best of times, this makes our life very difficult.
Now let's also say that our Python script is collecting data. We need to download this data to our local computer quite often, and the fact that the server is in Japan (physically far from us) means that things are much slower than they would have been if we had just chosen a London-based server.
Caveat
Above we make no assumption about what the Python script is actually doing. Let's say it was collecting data sent from a server located in Japan—in that case, the Python script would collect data faster, but retrieving it locally would still be slow due to the server’s location.
Example 2
A developer makes the same mistake as in Example 1 and finds it very frustrating to do anything on the server. He is building a website, and this time around, he chooses London. When he accesses the server, he notices that everything is very fast—almost like he is typing on his local machine.
All seems well. He develops the website, gets a domain name, and hands the project off to the SEO team. Around six months go by, and the SEO team is confused about why the website is not taking off. They have done extensive research into the Japanese tourism market, where their target audience is, and can't understand why things are going so badly.
It isn't until a new member of staff joins and realizes that, while the load times for the team in London are well within the recommended two seconds, for users in Japan, the data is traveling all the way from London and takes significantly longer. This means impatient users simply leave the website before it fully loads, negatively affecting SEO.
So the moral of this story is that, without exception, we should aim to locate the VM as close as possible to our users when building a website.
Not to go too much in to a rabbit-hole, but for those that are unsure which location to pick (assuming you are building a website for a global audience), it may be best just to choose a US location, as the way the internet is currently set up, means a lot of global traffic gets routed through US hubs anyway.
What is a Zone?
A zone is essentially a data center within a region, so think of it as a building inside a larger cloud region, all connected by high-speed fiber.
When Does Zone Not Matter?
For most applications, zones are irrelevant. If you're building a website, a blog, or a online store, the choice of zone won’t impact performance at all. In these cases, any zone in the selected region will probably be equivalent.
When Does Zone Matter?
If you're working on high-frequency trading, real-time analytics, or anything where milliseconds make a difference, zone selection is crucial.
Take Bybit Exchange as an example. If you're building a trading bot and need to fetch market data as fast as possible, you'd want your VM as close as possible to Bybit’s servers.
Why? Because the closer your VM is to Bybit’s server (ideally in the same zone or at least the same region), the faster you receive data. If you get price data even a few milliseconds ahead of others, you could execute trades before competitors—a huge edge in algorithmic trading.
If you're unsure whether zone selection matters for your use case, that means you probably don’t need to worry about it. Stick to picking the right region, and any zone in that region will work fine.
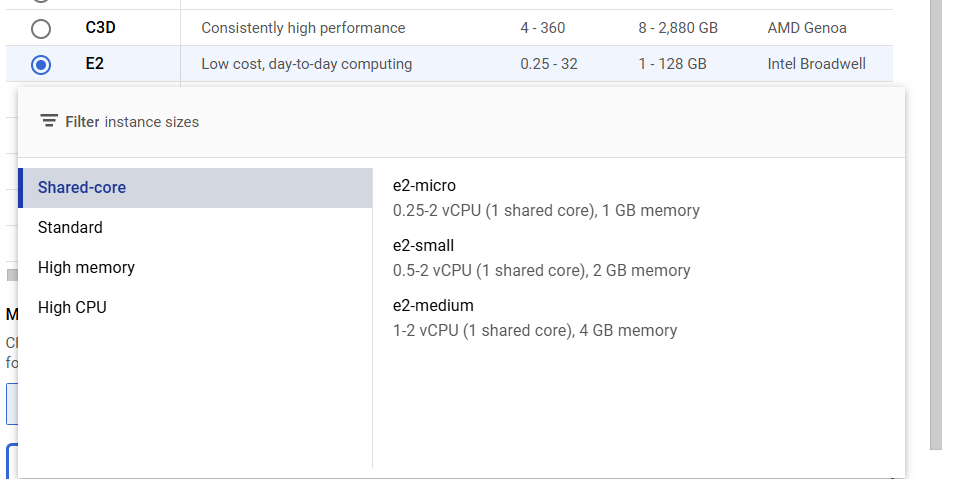
Choosing Hardware
While, $300 is quite a lot to play with, naturally the more high spec the server resources, the more it is going to cost, for your first server, I recommend choosing the e2-micro. There is still a lot of cool applications we can make with a VM like this, so go ahead and choose this if you are just getting started.
What is CPU , RAM & Disk Space?
These three components are the foundations of any VM instane you will spin up while learning about cloud computing.
CPU
The CPU is often referred to as the computer's brain. Just like a more powerful brain can process information faster, a more powerful CPU allows a computer to handle tasks more efficiently.
Where this analogy deviates is that computers can have multiple CPU cores, allowing them to perform multiple tasks simultaneously.
Examples
Heavy calculations & data processing → If you're running math-heavy applications (e.g., AI, financial modeling, video encoding), CPU speed and power are critical.
Multitasking & Parallel Processing → If a VM needs to run multiple tasks at once, having more CPU cores (or vCPUs) allows the VM to do more things at once
Memory / Ram
Memory in VM terms, is the size of temporary data (shown in gigabytes) that can be stored in a place that can be easily accessed by the CPUs. In keeping with the human brain analogy, think of RAM as the amount of information a human can store in short term memory at one time. So for instance, think of a human with more RAM, being able to hold in memory more numbers that are said in quick succession compared to those with lower RAM.
When would a VM need more RAM?
- Say for instance, we wanted to have a VM that loads data and processes it from an external source, the amount of RAM our VM has , dictates how much data we can request at one time, so say we are getting a response of 500 MB from another server, if we only have 200MB of RAM that isn't being used, we are going to get a OOM (out of memory error on our server).
Disk Space
Similar to RAM in that it is measured in gigabytes of storage, but it serves a different purpose.
For example, when you create an Excel workbook and type numbers into the cells, this data is temporarily stored in the computer’s memory (RAM). Once you save the workbook, the data is written to disk, making it permanent. When you close Excel, the data is removed from RAM but remains saved on the disk.
Since a virtual machine and your local machine are essentially the same, having more disk space on your VM is necessary if you need to store more data permanently.
Choose an Operating Sytem (OS)
An operating system is the software that manages everything on a computer. It controls the hardware, runs programs, and makes sure different parts of the system work together smoothly. It is likely that you are currently using Windows, as it is the most popular operating system for personal computers. However, for VMs, a more common OS is some variant of Linux.
Now that we have chosen the config, let's take a look at the operating system and storage. Simply click on the "OS and storage" tab on the menu shown below. Note that the default OS is Debian, which is a type of Linux distribution known for being very user-friendly.

Although the change I am about to make is somewhat inconsequential, I am more familiar with Ubuntu, so I am going to switch to Ubuntu.
One strong recommendation when choosing an image, is to choose one that has 'LTS' in the version, referring to 'long-term-support' , I really can't tell you how annoying it is having to upgrade a server to the long term support version, once the updates stop working for whatever version you have installed. Unless you really know what you are doing DO NOT get anything apart from LTS
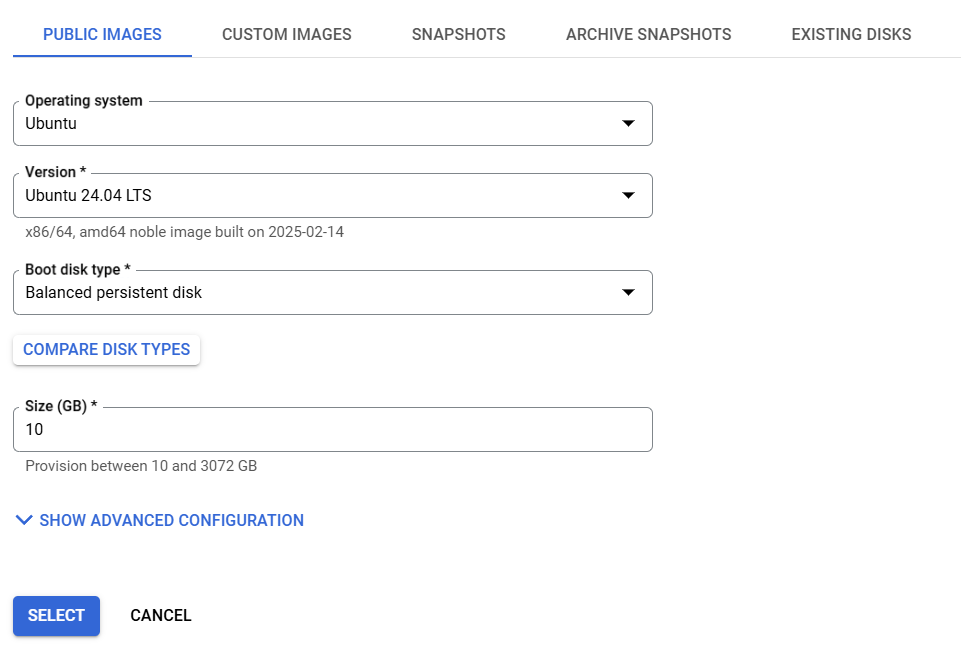
Here I just leave the default disk space to 10 gigs, as we can add more later if required.
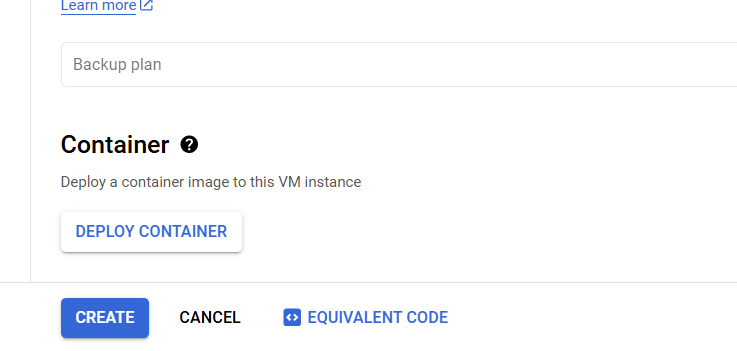
At this stage we are ready to click on create an have Google spin up our instance.
In less than a minute, the server should be up and running. Yours should look something similar to the image below with the green tick indicating the VM is up and running.
![]()
Connecting to VM from Local Machine
It seems to be nearly impossible to add an SSH key from local machine using the interface, not sure if that is because it is a shared instance as it worked fine on another instance, so we are sort of forced to go through their SSH connect method, notice the SSH button under the connect header above, click on that , and then
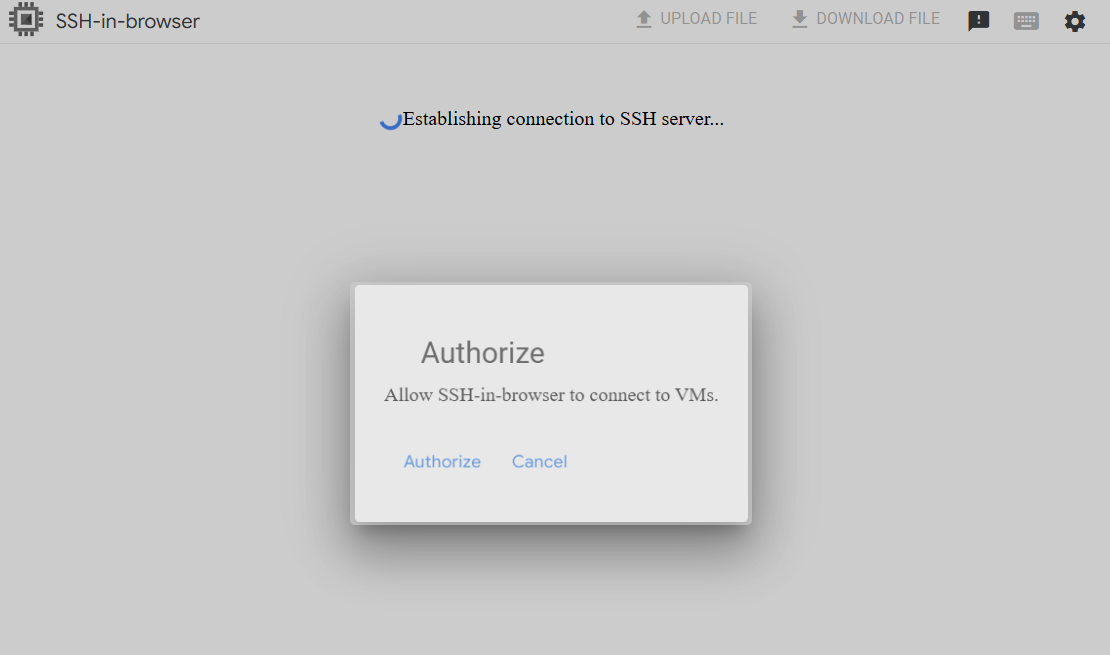
Once we are inside the machine , we should see something like below at the top of the screen.
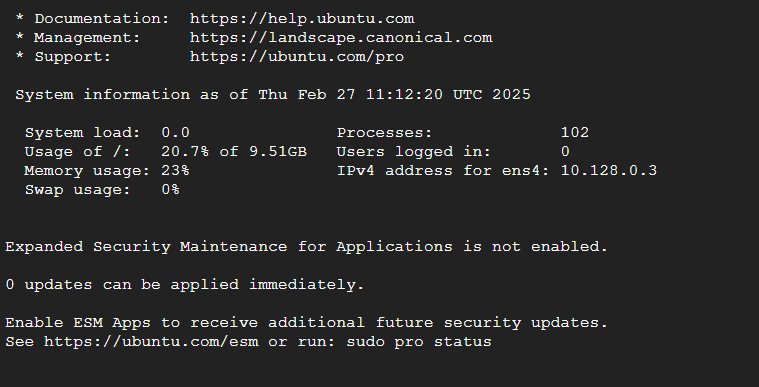
OK great, now we are up and running with a VM in the cloud!