🚀 What is Docker and Why is It Useful for Windows Users?
🔄 Consistency Across Environments
Docker ensures that the application runs the same way on any machine. This is particularly good for Windows users working in teams where most developers use Linux or Mac. By containerizing the application, Docker eliminates the "works on my machine" problem, ensuring that the code behaves identically regardless of the underlying operating system.
📦 Simplified Deployment Process
With Docker, everything your application needs — from the OS libraries to dependencies — is bundled into one neat container. This makes deploying to the cloud, local servers, or staging environments simple, repeatable, and fast. 🚢
By using Docker, Windows users can effectively collaborate with team members who use different operating systems. 💻🤝 However, as with most programming-related things, installing the necessary software and getting a basic example running can often be the most frustrating part. 😩🔧
First things first — head over to the Docker website and download the installer here. 🐳💾 It should take around 5 minutes to install Docker, after which you’ll need to reboot your machine. 🔄💻
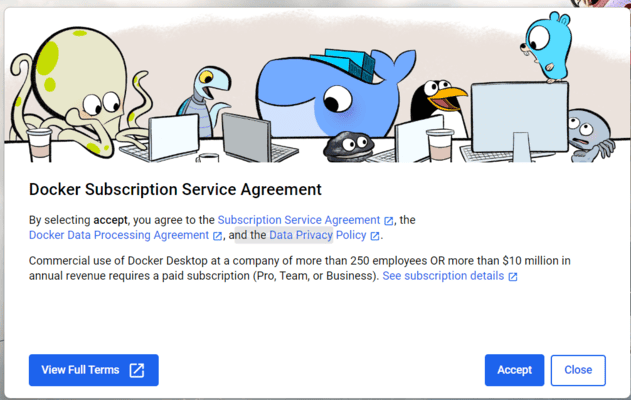
Since we are beginners with Docker, we will just use the default settings on the following prompt

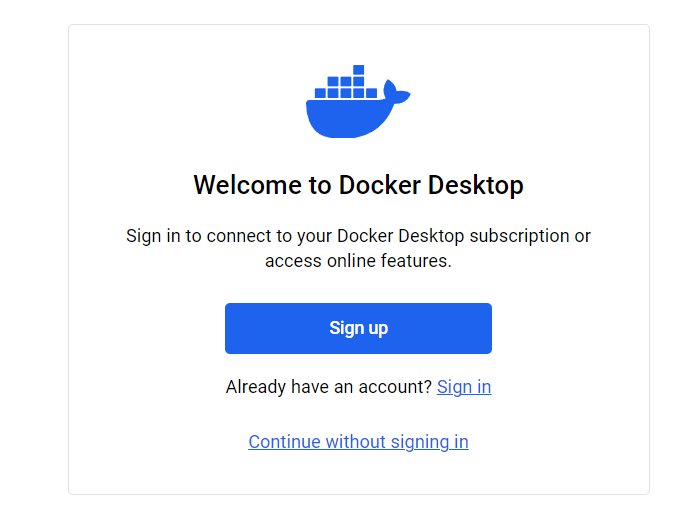
We’ll continue without signing in — no need to add more promotional emails to the inbox. 📭
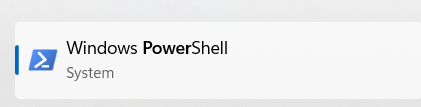
Once that is done, we are going to do some basic things with the command line to ensure that we have the Linux distribution we want (Ubuntu) and also confirm that we are using WSL 2 due to its increased performance. You can type "PowerShell" into your search bar at the bottom of your screen, and you should see the following as the best match. ✅
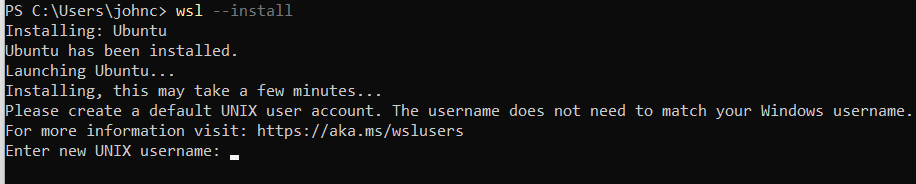
OK, once it is opened, you can copy and paste the following command to set up a new user. Type in your new username and password when prompted. This installs Ubuntu 22.04 as the default on my machine — you can also install different distributions if you prefer, but I feel Ubuntu is the most user-friendly of all the Linux distros. 🐧✨
wsl --install
How to Enable WSL Integration with Docker Desktop on Windows 11
Now that we have Ubuntu installed, head back to Docker Desktop and click the ⚙️ gear icon to open the settings. You should see Ubuntu (or your chosen distro) listed there ✅.
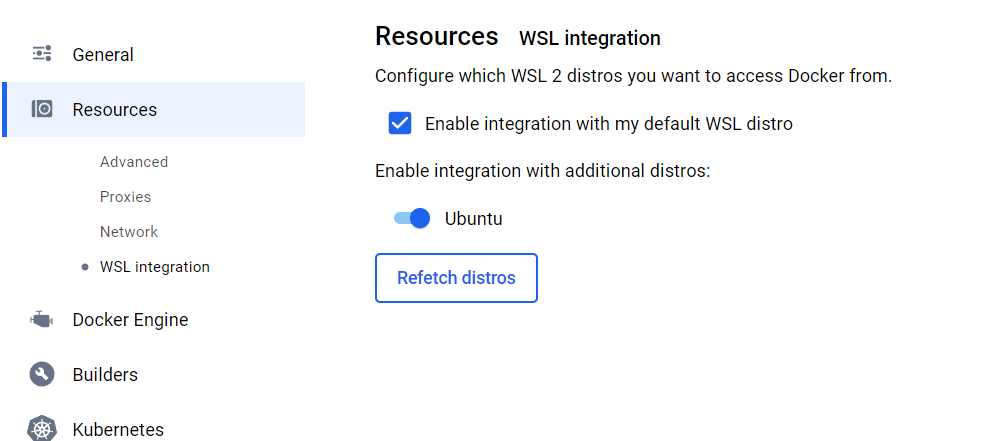
Click on "Apply & Restart" to make the changes take effect 🔄✅.
🔁 Reopening Your WSL Session with Ubuntu
To reopen a WSL session using your newly installed Linux distribution (like Ubuntu), it’s super simple:
- 🔍 Head to your Windows search bar and type "Windows Terminal" — click to open it.
- 💻 Once open, just type Ubuntu (or the name of your distro) and hit Enter.

Now we can check that our Docker integration is working as expected. Type the following command into your terminal:
docker ps --all
This is the command to list 📋 all containers in Docker. Since we’ve only just installed it, we should expect the following output in our terminal 💻, indicating that we don’t have any containers or images created yet.
CONTAINER ID IMAGE COMMAND CREATED STATUS PORTS NAMES
How to Access and Change to Your Windows Desktop Directory Using WSL on Windows 10/11 🖥️📂
One of the trickiest things is navigating the file system using the Linux terminal on Windows. As Windows users, we're often used to orienting ourselves around the Desktop interface. To find your Desktop via the command line, you can try the following (make sure to replace your username with your actual one) 🧭
Since my machine is a fresh install, I needed to add OneDrive manually — which was new to me. I guess you could try the following:
cd /mnt/c/Users/your_user_name/OneDrive/Desktop
Alternatively if that doesn't work you can try
cd /mnt/c/Users/your_user_name/Desktop
![]()
OK, so I think we can all agree that trying to remember this long path every time we want to navigate to the Desktop isn't ideal. Fortunately, we can create what’s known as a symbolic link — so we don’t have to remember it each time. ✅
Before doing that, make sure you were able to navigate to your Desktop correctly. You can verify this by typing ls once you're in the folder and checking that it shows the same files and apps you see on your actual desktop.
Creating the symbolic link is really easy — just make sure to replace the path to the Desktop with the one you found on your machine.
First, we switch back to the root directory simply by typing:
cd
Creating the sym link with the directory from my desktop, note that I am simply naming it desktop so it will be easy to remember but you can choose whatever you like.
ln -s /mnt/c/Users/johnc/OneDrive/Desktop ~/desktop
Once that is done we can navigate to the desktop with
cd ~/desktop
✅ How to Install the WSL Extension in VS Code Linux Development
We're likely going to want to use the Ubuntu terminal during our coding sessions, especially if you're working in a Linux-based environment. Since I personally use Visual Studio Code , let’s look at how to use the Ubuntu terminal within it. If you don’t have Visual Studio Code installed yet, simply open the Microsoft Store, search for "Visual Studio Code", and install it from there.

Ok, once that’s completed, let’s open up a WSL session the way we described previously. First, type "Windows Terminal" into the search bar, and once the terminal is open, type "Ubuntu". Then, of course, we want to change the working directory to the Desktop. If you created the symlink as shown in the last step, simply typing cd ~/desktop should take you to the correct place. 📁
For the next part of this guide, we’re going to create a directory called dockerTest and use it to run our first Docker image.

Once we have done that we can simply type
code .
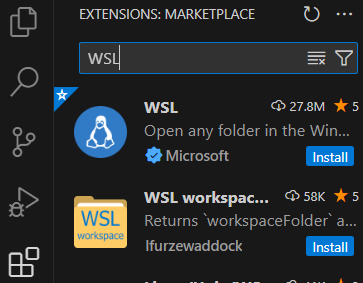
This will open a VsCode instance in the new folder we created. Next select the Extensions icon on the left sidebar and type "WSL" and install the first package that comes up.
How to Open a WSL Ubuntu Terminal Directly from VS Code on Windows 11
Now that we have the extension installed, we can open a terminal, on the top menu click on 'Terminal' which will open a Windows Powershell terminal , we have 2 options for opening an Ubuntu terminal, the first is we simply type Ubuntu , although if you haven't called your distro Ubuntu or something else goes wrong, you can click on the dropdown on the left shown below
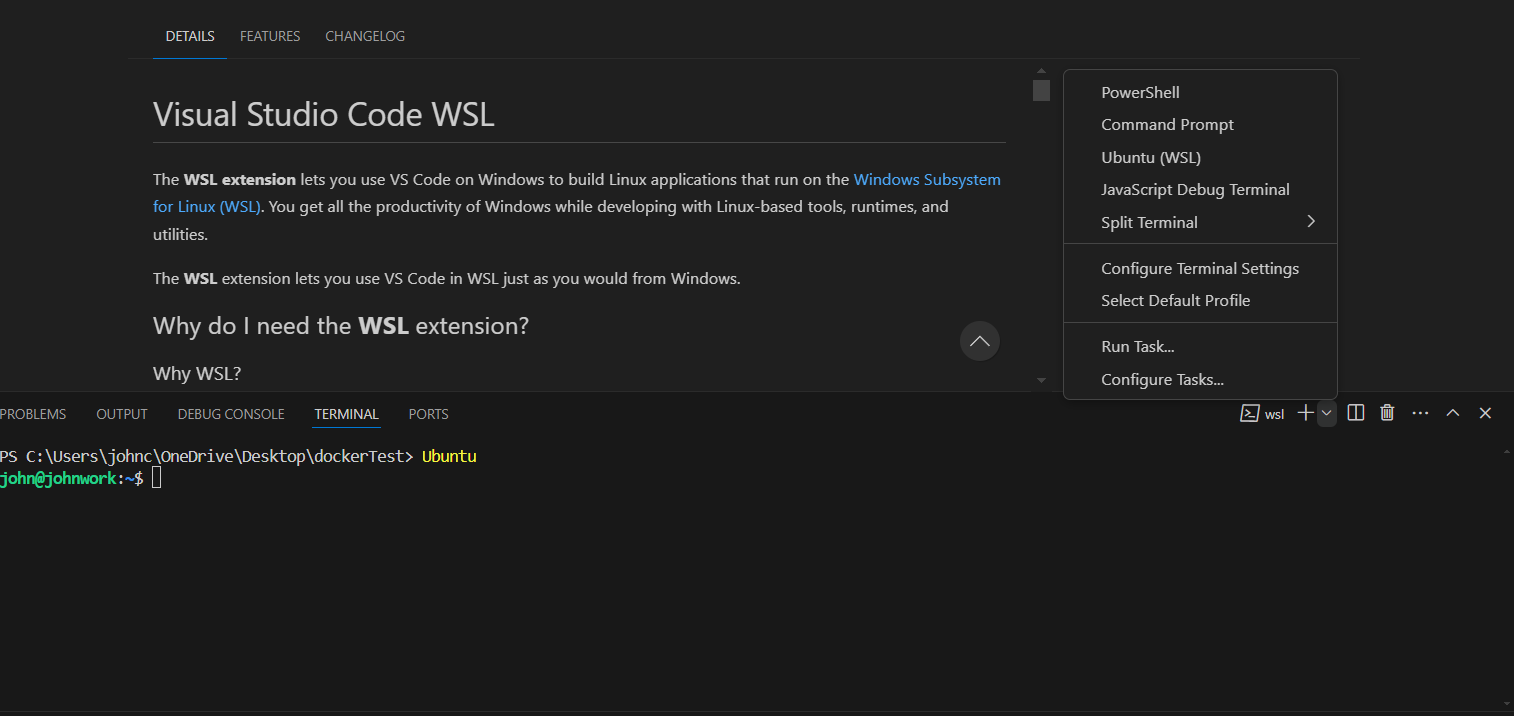
Select the name of your distro or WSL build , mine would be Ubuntu (WSL) from the menu above.
How to Create Your First Docker Image on Windows Using WSL and Ubuntu
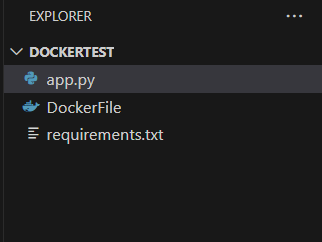
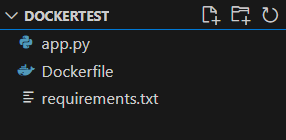
For this part, we’re going to create a simple Flask web application to test out Docker. We'll need to create three files in the dockerTest folder we just created. ✅
app.py
This python file contains the basic building blocks of a Flask application , you can copy and paste the code below in to your file.
from flask import Flask
app = Flask(__name__)

@app.route('/')
def hello():
    return "Hello World!"

if __name__ == '__main__':
    app.run(host='0.0.0.0', port=80)
requirements.txt
All you need to put in this file is the following:
Flask
🐳 How to Create a Dockerfile to Build Your First Docker Image
✋ Note: You should not include an extension in this file, and be sure to name it DockerFile like we have shown (this is wrong, but read on).
A Dockerfile is a plain text file that contains a set of instructions for building a Docker image. Think of it as a recipe that tells Docker how to assemble your application’s environment. This file defines everything needed to run your application — including the base operating system, software dependencies, and configuration settings.
# Use an official Python runtime as a parent image
FROM python:3.10-slim

# Set the working directory in the container
WORKDIR /app

# Copy the current directory contents into the container at /app
COPY . /app

# Install any needed packages specified in requirements.txt
RUN pip install --no-cache-dir -r requirements.txt

# Run app.py when the container launches
CMD ["python", "app.py"]
Build The Docker Image
Ensuring we are in the correct directory as shown below

Then to build the image you can copy paste the following in to your terminal.
docker build -t my-first-image .
🛠️ Troubleshooting Docker Image Build Issues on Windows with WSL
OK and the first time I tried to run this I got the following error "ERROR: failed to solve: failed to read dockerfile: open Dockerfile: no such file or directory"

I’ve left this up as it may be useful for someone who encounters the same error. The issue occurred because I named my build file **"DockerFile"** when it should have been **"Dockerfile"** (case-sensitive). Renaming the file so your folder matches the image below should fix the problem. It’s also possible to get this error if you're not in the correct directory, so first check that your Dockerfile is named correctly, and then ensure your terminal session is in the right working directory—i.e., the one containing the Dockerfile. 🐳
OK so let's try again with the correct file name
docker build -t my-first-image .
And run the image in a container called "my-first-container"
docker run --name my-first-container -p 4000:80 my-first-image
If all has went well then you should see something that looks like :
 * Serving Flask app 'app'
 * Debug mode: off
WARNING: This is a development server. Do not use it in a production deployment. Use a production WSGI server instead.
 * Running on all addresses (0.0.0.0)
 * Running on http://127.0.0.1:80
 * Running on http://172.17.0.2:80
Press CTRL+C to quit
172.17.0.1 - - [28/Jun/2024 08:17:21] "GET / HTTP/1.1" 200 -
Alright, that's enough of the command line for now—head back to your Docker Desktop application, and you should see your container running.
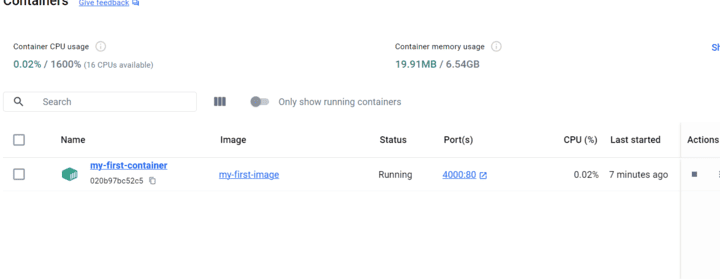
If you’ve ever tried using Docker solely from the command line, you’ll appreciate just how great Docker Desktop really is 🙌. From here, you can start and stop your containers with a click, inspect them, view logs, and even just click the exposed port to launch your web app instantly.
✅ Recap – What We’ve Done
- 🐧 Installed Ubuntu on Windows using WSL2 for a more native Linux experience.
- 🐳 Set up Docker Desktop and enabled integration with WSL.
- 🔧 Tested our setup from both the command line and the Docker Desktop UI.
- 📂 Created a symbolic link to our Desktop to simplify file navigation.
- 🧪 Wrote a basic Flask web app.
- 📦 Created a Dockerfile to containerize the app.
- 🔍 Troubleshot some common Docker build errors like filename casing and working directory issues.
- 🚀 Ran our first container and confirmed everything works from Docker Desktop.
📚 Further Reading
- 🔗 3 Proven Ways to Run Python Scripts in the Cloud
- 🔗 Getting Started with Redis and Python
- 🔗 Ultimate Guide: Deploy a FastAPI App with Nginx on Linux