Getting started with GitHub can be tough. Using Git on the command line can feel daunting, and it’s only natural to yearn for a simple graphical interface 🖥️ rather than odd commands. In this post, we’ll show absolute beginners how to download GitHub GUI for Windows, clone a repo, and push/pull changes.
📋 Contents
Download & Install Github Desktop
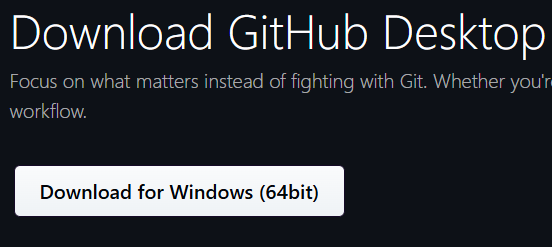
1️⃣ Get the Windows Installer
Go to the link for Download Github Desktop and click the download button to begin the process.
2️⃣ Sign in to your Github account
Once the install has launched, you will need to sign in to Github or create an account if you don't have one already.

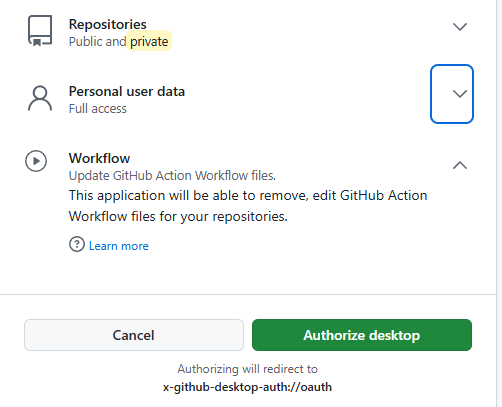
3️⃣ Give GitHub Desktop Permission
When the permissions dialog appears, leave the defaults enabled so GitHub Desktop has full access to your public and private repositories. Otherwise, you’ll run into errors trying to clone private repos later. In future it probably isn't a bad idea to learn about ssh-keys for auth in the event you ever want to clone a private git repo from a server but to keep things simple , we will just tick the defaults shown below.
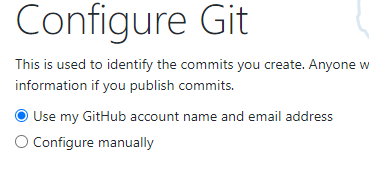
4️⃣ Configure Github Desktop
Sign in using your GitHub username and email address. This will sync your repositories and settings automatically—honestly not sure what the other settings do, I have never needed them. If you do need to change anything later, head to File → Options
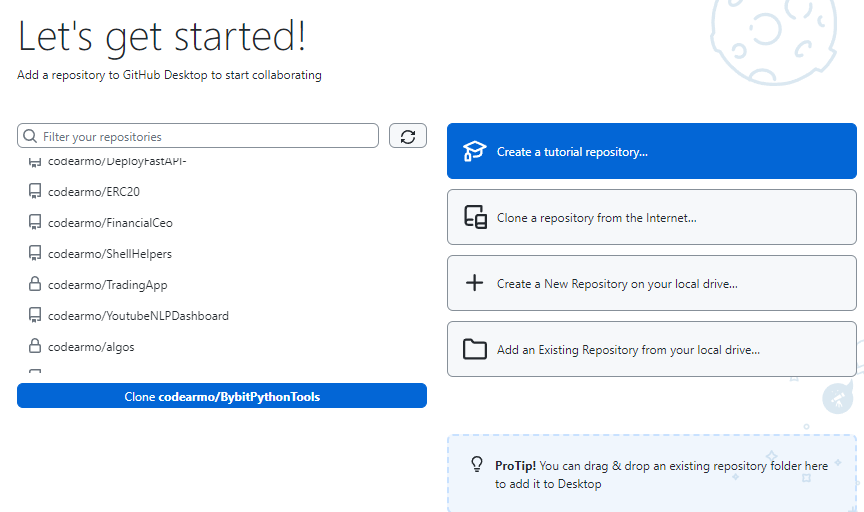
Installation is now complete! 🔥 Hopefully that was pretty easy! You should now see something like the window below with your Github Repos, if you don't have any yet, read on and we will show how to make your first repo.
Create and Publish Your First Repository with GitHub Desktop GUI
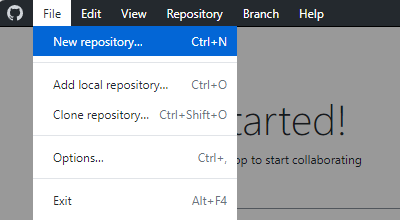
1️⃣ Click on the File Menu on Top Left
Select New Repository ⬇️
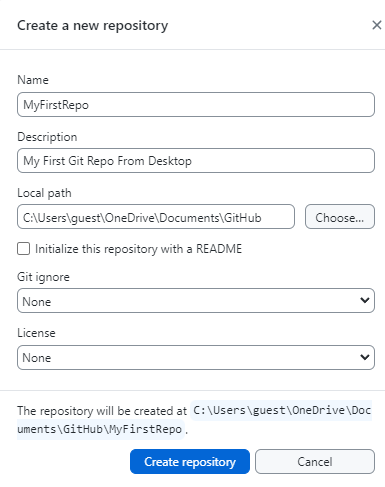
2️⃣Give your Repo a Name & Description
Enter a unique name (and an optional description) for your new repo. The Local path setting tells GitHub Desktop where to store your files on your PC—unless you have a specific folder in mind, the default location is fine for now. Click on create repository button once you are satisfied with your choices.
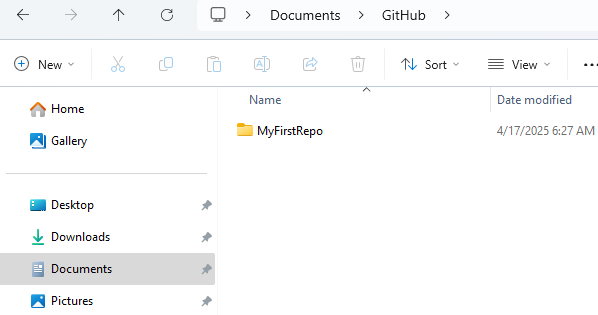
3️⃣Check it is in the local folder
GitHub Desktop will automatically create a GitHub folder in your Documents. To check that the repo we created with the gui exists
➡️ Open 📂 File Explorer
➡️ Go to Documents/GitHub
➡️ You should see the repo you just created in the list
4️⃣Publish from Local Folder to Github
This step is straightforward—click the Publish repository button to upload your local files to GitHub 🤘
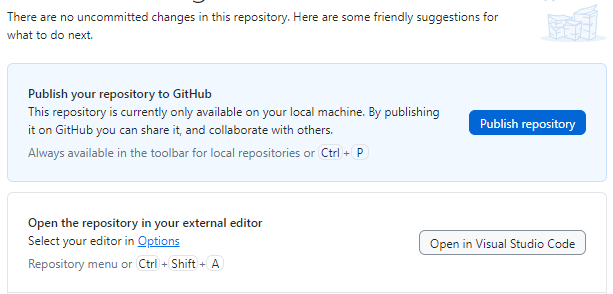
If you want to keep your code private, tick the Keep this code private checkbox 🔒
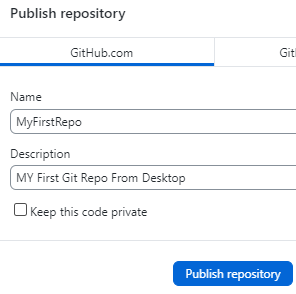
Once that’s done, you’ll find your new repo on your GitHub profile—though it’ll be empty at first! But fear not, in the next step we'll walk through how to add new files, commit them and push to github —all via the GUI
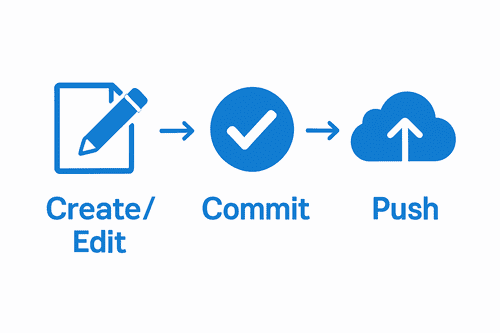
Create, Commit & Push Files with GitHub Desktop GUI
In this section, we’ll walk through the core Git workflow in GitHub Desktop: create or edit files locally, commit your changes, and push them to the remote repository.
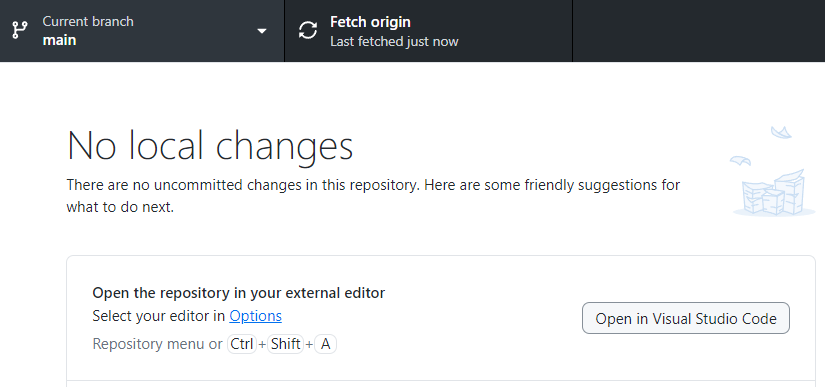
Heads up—you’ll need an code editor installed to follow along with the next steps, I personally use & recommend VS Code as its free and not too painful to set up + works very well with Github Desktop. Notice the Options link below, where you can change the default code editor Github Desktop uses. Then click on the button to open your repo!
1️⃣Create Files
I created a hello_world.py ⬇️
print("Hello, world!")
print("From my first GitHub repo")
And a hello_world.js ⬇️
console.log("Hello, world!");
console.log("From my first GitHub repo");
So my editor currently looks like the image shown below ⬇️

2️⃣Commit Files
This is where the real magic starts! If you go back to the Github GUI , you will see Github Desktop has noticed we made changes to the folder!
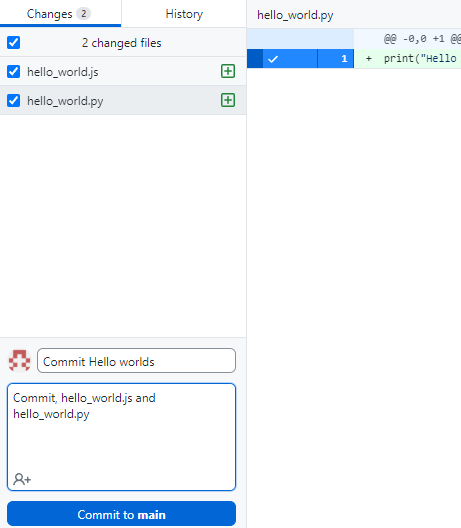
➡️Ensure that the files you want to commit have the checkmark ticked beside them ☑️
➡️Add a commit message : In mine shown above I have called it 'Commit Hello worlds'
➡️Optional Description: Here you can add more details , I just listed the files as shown above.
➡️ Click on the Commit to main button to add the files to version control.
And that's it, pretty simple right! Now let's move on to make sure we send the new files to Github.
3️⃣Push Files to Github
This step is a very easy—just click the Push origin button (shown below), and GitHub Desktop will publish the files you committed in step 2 directly to your GitHub repository!

And sure enough they are there along with the commit message we wrote in step 2.

And that’s it for this part. It’s a good idea to practise modifying, committing and pushing a few times, as you’ll be doing this workflow quite often!
Clone a Repo with Github Desktop
Cloning a repository means creating a full local copy of a project hosted on GitHub, so you can browse, edit, and experiment on your own machine. What’s cool about GitHub and open source in general is that you can take someone else’s code, download it directly, and modify it however you like (license permitting, of course).
For this section, we will clone a repo I createed in a post about Deploying a FastAPI app , you can also find the repo here on github
Steps to Clone the Repo
1️⃣ Navigate to Github Repo on Website
To follow along with me My Repo link , or whatever repo you are interested in.
2️⃣Copy the repo URL
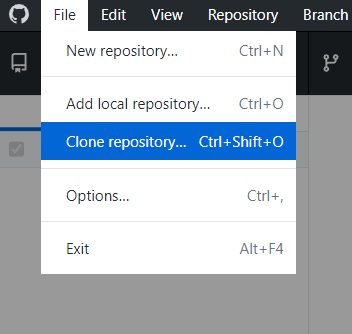
3️⃣ Click on File Menu in Github Desktop & Select Clone Repository
4️⃣ Copy Pasting URL from Step 2 in to URL Tab
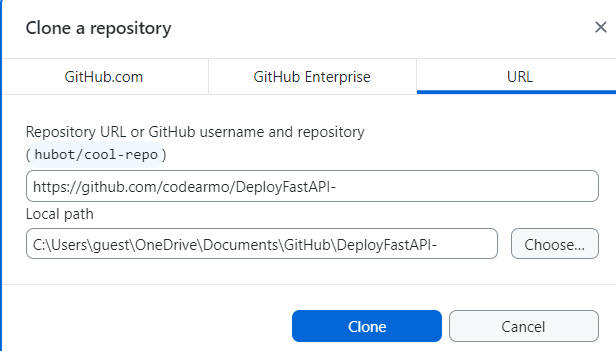
Click the Clone button—and that’s it! It’s much simpler and cleaner than manually downloading and extracting a ZIP from the GitHub UI.
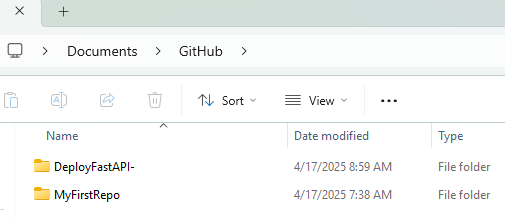
And sure enough the cloned repo is right beside the one we made in Part 2 of this post!
📚 Further Reading