So you have created your first Plotly Dash application and now you want to share it with the world. One of the best and most cost efficient ways to do this is by using your own Linux server. You can use any number of providers to rent a server, however, we recommend using linode and if you sign up using our referral link you will be entitled to $100 in free credits to experiment with your own servers.
For this article we use Ubuntu 23.02 , it may be best for those that which to follow along to choose this distribution to avoid any weird errors.
For the purposes of this article you can select the cheapest possible option from Linode (or other hosting provider) which currently is $6 per month for shared hosting. Once you have set up your server you can ssh in to it , you will need the IP address from Linode's interface.
Below is an example:
ssh root@172.232.15.142
Enter the password you inputted to spin up the server when prompted and type the following:
sudo apt update && sudo apt upgrade
Since we are using apache as our web server we need to install some more packages
sudo apt-get install apache2 mysql-client mysql-server
sudo apt-get install apache2-dev
sudo apt-get install libapache2-mod-wsgi-py3
Apache should be default enable wsgi , however, you can type the following command to be sure
sudo a2enmod wsgi
This gives us a /var/www/ folder associated with apache on our server, it is here that we will want to put the project. Below we navigate to the var/www/ directory and create a new directory named as the project , for the purposes of this article we will call the directory FlaskDash
cd /var/www
mkdir FlaskDash && cd FlaskDash
The next step is to install pipenv , it is rather difficult to use pyenv so it is highly recommended you use pipenv to prevent weird errors.
sudo apt install pipenv
As there can be some tricky permissions errors that may be difficult to debug, we are going to want to ensure that our venv is saved in our project directory. So we need to complete the following step:
nano ~/.bashrc
Once the bash file is open, scroll down to the bottom of the file and copy and paste the following line in.
export PIPENV_VENV_IN_PROJECT=true
Save and exit with Ctrl x and yes to save , once back in terminal we need the following command for the changes to take effect.
source ~/.bashrc
Once completed ensure you are in the correct directory, it should look like :/var/www/FlaskDash on your terminal if you are following along with the same project name as we are.
Now type the following :
pipenv install
This will create the virtual environment. Type the following within the /var/www/FlaskDash/ directory to ensure it is there:
ls -la
You should see a .venv folder.
Now we will install some packages. To install packages is very simple.
pipenv install dash
pipenv install flask
pipenv install pandas
Now create the following three directories within the FlaskDash folder.
mkdir static
mkdir templates
mkdir logs
Now we want to create our app.py file
sudo nano app.py
Once it is opened copy and paste the following example dash app taken from the documentation user guide.
from dash import Dash, html, dcc, callback, Output, Input
import plotly.express as px
import pandas as pd

df = pd.read_csv(
    "https://raw.githubusercontent.com/plotly/datasets/master/gapminder_unfiltered.csv"
)

app = Dash(__name__)

app.layout = html.Div(
    [
        html.H1(children="Title of Dash App", style={"textAlign": "center"}),
        dcc.Dropdown(df.country.unique(), "Canada", id="dropdown-selection"),
        dcc.Graph(id="graph-content"),
    ]
)


@callback(Output("graph-content", "figure"), Input("dropdown-selection", "value"))
def update_graph(value):
    dff = df[df.country == value]
    return px.line(dff, x="year", y="pop")


server = app.server

if __name__ == "__main__":
    app.run(debug=True)
Save and exit with Crtl x and yes to save, once that is saved we will create the app.wsgi file. First we want to check that the pipenv is on the right path. Type the following:
pipenv --venv
If you have been following along with the same naming as we have you should see the following once the command above has been executed:
/var/www/FlaskDash/.venv
Now create the app.wsgi file
sudo nano app.wsgi
Once open copy and paste the following in:
import sys

sys.path.insert(0, '/var/www/FlaskDash')

activate_this = '/var/www/FlaskDash/.venv/bin/activate_this.py'

with open(activate_this) as file_:
    exec(file_.read(), dict(__file__=activate_this))

from app import server as application
Save and exit with Crtl x and yes to save
It is important to note here that when you typed the pipenv --venv you must have the correct path that was outputted on the terminal after typing this command , if replace the paths above with the correct output ensuring it ends in /bin/activate_this.py so that things will load correctly.
The next step is to make a configuration file for apache to server the app. We are going to navigate to the appropriate folder to insert a conf file. Let's go back to the root directory.
cd ~
Then navigate to the following directory.
cd /etc/apache2/sites-available
Create the conf file
sudo nano FlaskDash.conf
The file below is an example of a configuration file , if you are using linode , click on your linode, and copy and paste the IP address of your server beside ServerName after removing the placeholder one in the example below.
<VirtualHost *:80>
  ServerName 172.232.15.142 # change this to the IP of your server
  WSGIDaemonProcess flaskapp user=www-data group=www-data threads=5

  WSGIScriptAlias / /var/www/FlaskDash/app.wsgi

  <Directory /var/www/FlaskDash>
    WSGIProcessGroup flaskapp
    WSGIApplicationGroup %{GLOBAL}
    Require all granted
    Options ExecCGI
  </Directory>

  Alias /static /var/www/FlaskDash/static

  <Directory /var/www/FlaskDash/static/>
    Require all granted
  </Directory>

  ErrorLog /var/www/FlaskDash/logs/error.log
  CustomLog /var/www/FlaskDash/logs/access.log combined
</VirtualHost>
Save and exit with Crtl x and yes to save
To enable this site type the following command :
sudo a2ensite FlaskDash.conf
To check whether the syntax is correct for the apache conf file, type the following:
sudo apachectl configtest
If everything is correctly specified , you should see 'Syntax OK' somewhere on your terminal.
Restart apache with the following command
sudo service apache2 restart
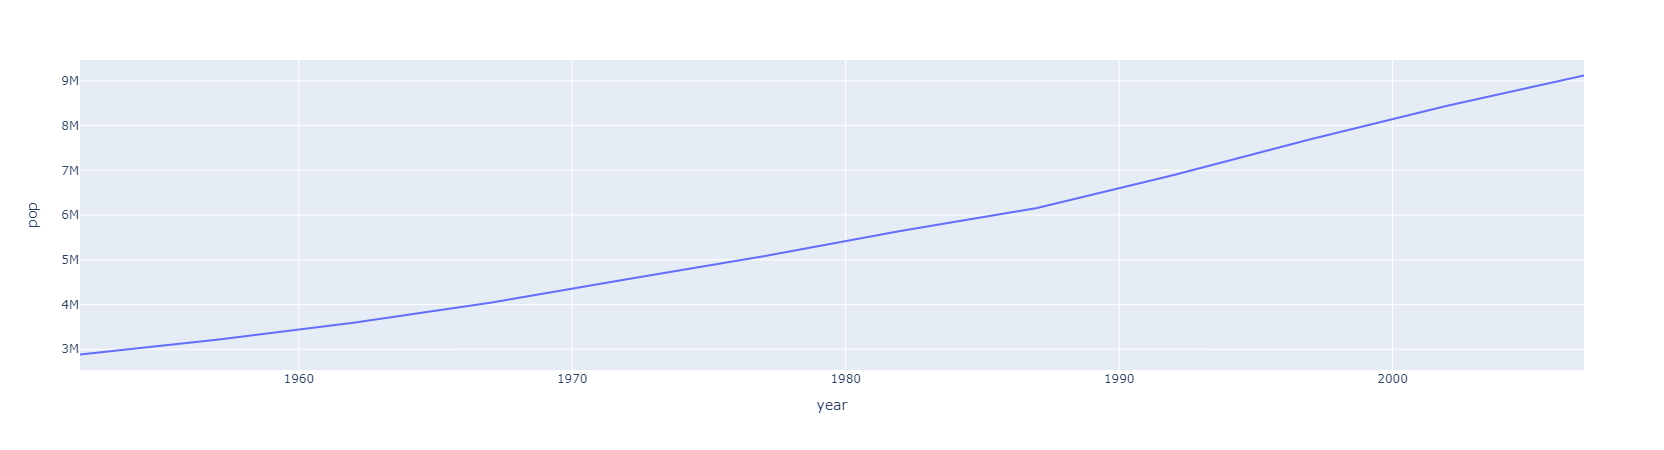
Now you can copy and paste your IP address in to your browser. If everything has worked correctly you should be able to see an interactive version of the plot below :
If there is some problem and you don't see the plot above due to some error , you can go to the logs and see if you can debug it
cd ~

cd /var/www/FlaskDash/logs

sudo nano errors.log