In this post we will show how to create an alias for ssh keys, which will allow users to easily connect to their servers without constantly having to remember the IP address of the server. In this post we will be using Ubuntu , but the same thing should more or less apply to other Linux distributions. 🐧
This guide will be useful for those that use WSL on windows and are new to Linux , with step by step instructions on making connecting to VMs seamless.
It can get pretty tiresome having to type something like:
ssh i ~/.ssh/id_rsa admin@45.33.21.99
...especially when you manage multiple servers. It gets even more painful if you use different SSH keys for each one. 😮💨
So, instead of memorizing IPs and typing out long commands, you can create a simple SSH alias and connect like this:
ssh myserver
It can get very tiresome constantly having to type something like ssh admin@45.33.21.99 or something like that. Especially when we have multiple servers to manage and even worse if we have many different SSH keys associated with each server.
Therefore, it is advisable to createa config file which will allow us to simply type ssh 'myserver' and is all handled automatically.
This is a very easy process and to start all we need to do is open or create if it doesn't exist, an ssh config file
nano ~/.ssh/config
Once inside the file, there are 4 main fields we should be aware of
Host: This is the nickname for the server, so for example, the thing you call this is how you enter the server like ssh myserver , or whatever you prefer to call it.
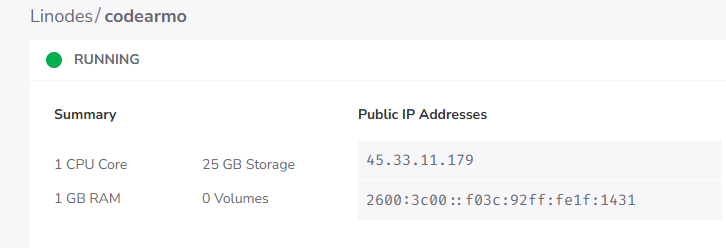
HostName: This is the IP address for the given server , I got mine from visiting Linode cloud console and taking the public IP address.
User: This refers to the non-root user you have hopefully created after spinnin up your server, we will call it 'admin' for the purposes of this demostration.
IdentityFile: This is the path to the ssh key that you have hopefully created when you set up your server.
If you haven't created an SSH key or a non-root user, perhaps this guide would be of benefit which covers making a sudo user and generating an ssh key.
OK we should still be inside the ~/.ssh/config file and we need to fill out this fields in the following format , I have called mine 'blog' here, but you can call it whatever it easy to remember.
Host blog
    HostName 45.33.11.179
    User admin
    IdentityFile ~/.ssh/id_rsa_old_com
Note that you are writing the path to the private key, that you have created, the one linked to the public key you have put on the server.
Once you have filled in the information above, simply press Ctrl x and then Y to save, and you should be able to access your server with
ssh blog
And now hopefully you can access your server easily without constantly having to remember the IP and which key is used for which server!